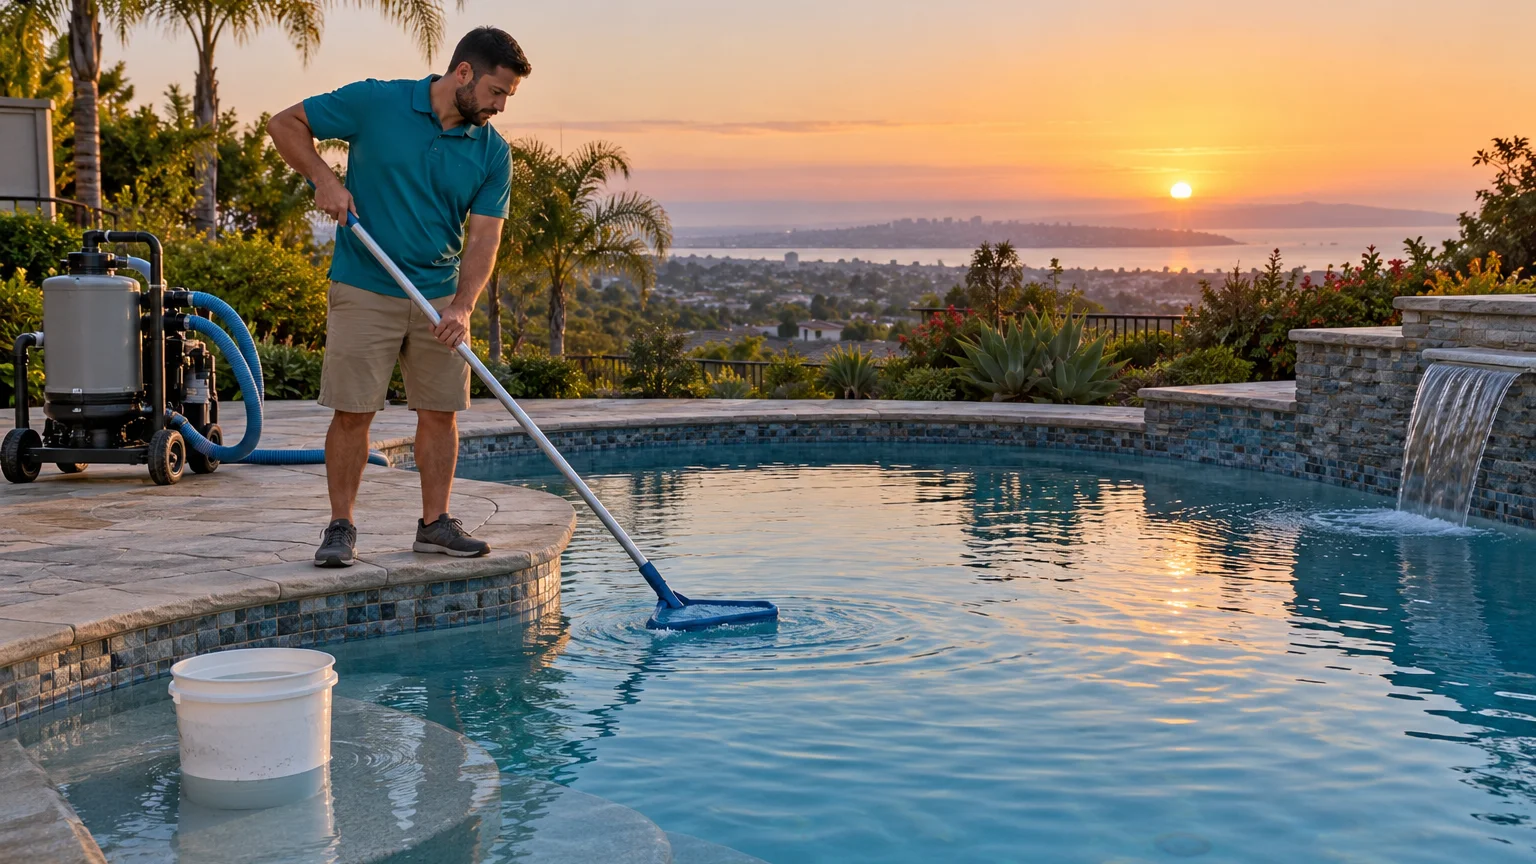
A dropping waterline doesn’t automatically mean your pool has a leak. A bucket test compares the pool against a smaller sample exposed to the same San Diego weather. It helps separate likely evaporation from water loss that deserves professional testing.
The comparison is useful, but it isn’t a leak locator. It won’t identify a cracked fitting, damaged equipment, or a leaking underground line. It gives you a clearer reason to keep watching or request pool leak detection and repair.
What a bucket test can tell you in San Diego weather
A bucket test compares two water levels under similar outdoor conditions. One level sits inside the bucket. The other is the pool water outside it. Sun, air, and wind affect both during the same test period.
Here’s a practical way to set it up:
- Bring the pool to its normal operating level.
- Turn off the autofill or any other source of added water.
- Fill a clean bucket with water taken from the pool.
- Set it securely on a shallow pool step.
- Keep the bucket’s top above the surrounding pool water.
- Mark the water level inside the bucket.
- Mark the pool level on the bucket’s outside.
- Record the start time, weather, and equipment settings.
The bucket must remain stable. Don’t use an arrangement that could tip, damage the finish, or obstruct a swimmer. If your pool lacks a suitable step, ask a pool specialist how to make a safe comparison.
Keep people and pets out during the test. Don’t add water, splash, or run a water feature. Those changes can erase a small difference between the marks.
At the end, compare each level with its own starting mark. If both dropped by about the same amount, evaporation is the stronger explanation. If the pool dropped clearly farther, a leak becomes more likely.
That result is directional, not conclusive. A close or uneven reading deserves another test. Our broader guide to pool leaks versus evaporation explains other observations that can support the comparison.
Wind, heat, and why one night is not enough
San Diego weather can change the meaning of a single reading. A quiet coastal evening near Encinitas isn’t comparable to a hot afternoon in El Cajon. Inland heat, a coastal marine layer, and Santa Ana winds create different evaporation conditions across the county.
Wind matters because the bucket and pool don’t have identical shapes. The pool presents a wide surface. The bucket has high sides and a smaller opening. Strong air movement can affect those surfaces differently, even when they sit beside each other.
Heat also changes during the day. Inland pools may face intense afternoon sun after a cool morning. Coastal pools can begin under a marine layer, then receive direct sun later. A test that covers only the calmest overnight period may miss the conditions present when you first noticed the loss.
Choose a calm, dry window when possible. Record whether the pool was shaded or sunny. Note strong wind, rain, unusual heat, and water-feature operation. If conditions change sharply, treat the result as uncertain.
Repeat the test when the first comparison is close. Use the same bucket position and starting method. Keep the equipment in the same operating pattern that existed when the water loss became noticeable. Consistency makes the second result easier to compare.
Don’t convert the drop into a claimed leak rate from one rough mark. The approved information for this site doesn’t establish a universal gallon or inch threshold. Pool shape, measurement quality, weather, and test setup all affect that calculation.
A repeated, visible difference between the pool and bucket is more useful than a guess based on one night. If the readings conflict, save both sets of notes for the leak-detection pro.
When the test points to a leak versus evaporation
Read the two marks separately. The water inside the bucket represents the comparison sample. The pool level outside shows what happened to the full pool during the same period.
When both levels fall by roughly the same visible amount, evaporation is the more likely explanation. That doesn’t certify the pool as leak-free. A small leak, a poor mark, added water, or changing weather can blur the difference.
When the pool drops clearly farther than the bucket, water may be leaving through another path. Repeat the test if wind, rain, swimming, or an autofill affected the setup. A similar result under steadier conditions gives a pro better information.
An inconclusive result isn’t a failed attempt. It tells you the test conditions or markings weren’t clear enough. Reset both marks and photograph them at the start. Take the final photographs from the same angle.
Don’t assume the bucket result identifies the damaged part. It can’t distinguish among the pool shell, a fitting, equipment, or buried plumbing. It also can’t prove that a pump-on or pump-off difference identifies a particular pipe. Those conclusions require inspection and appropriate diagnostic work.
Visible water near the equipment pad may offer another clue, but it still doesn’t establish the source. Water can travel before appearing at the surface. Avoid digging, opening electrical equipment, or dismantling pressurized components based on the bucket alone.
If added water has changed your household usage, review your records and current conservation information from the San Diego County Water Authority. The agency doesn’t diagnose pool leaks, but your records may help establish when unexplained filling began.
What a leak-detection pro does after a failed test
A matched licensed pro starts with the observations you already collected. The bucket result narrows the first question: whether the pool appears to be losing more water than the comparison sample. The next job is locating the path.
The inspection may begin around the pool, equipment area, and visible connections. The pro can look for active moisture, damaged fittings, equipment leaks, or changes around the waterline. The exact diagnostic method depends on the pool and suspected source.
Further testing may examine particular sections of the circulation system. The goal is to isolate the problem before recommending repair. Ask the pro which tests fit your pool, what each test can confirm, and whether any area must be accessed.
A professional result should separate diagnosis from guesswork. Our guide to how pool leak detection works explains the general progression from observation to isolation. Specific methods and access needs should be confirmed with the specialist handling your pool.
If testing points beneath the deck or yard, don’t assume excavation is the automatic next step. The location, pipe route, surface materials, and access all affect the repair plan. Read about underground pool pipe repair before discussing options.
No verified excavation price or universal repair range is available for this page. Ask the matched pro for a written scope and quote after the source is assessed. For regulated work, California’s licensing rules depend on the total contract and whether a permit is required. You can check a contractor directly through the CSLB license lookup.
What to record before you request a match
Good notes help the pro understand what changed. They also prevent the bucket test from becoming a vague statement that the pool “lost a lot.”
Start with the date and start time. Photograph both marks at the beginning and end. Keep the camera at the same height and angle. Write down whether the pool and bucket remained undisturbed.
Record these details:
- Where the bucket sat in the pool
- Whether the autofill was off
- Whether anyone used the pool
- Whether rain or strong wind occurred
- Whether a cover or water feature was used
- The pump’s normal operating pattern
- Whether you added water before or during testing
- Any visible moisture near the pool or equipment
- The water level where the loss seemed to slow
- Any recent work around the pool, deck, or equipment
Describe the weather in plain terms. “Calm and overcast near Point Loma” is more useful than “normal weather.” So is “hot afternoon in Escondido” or “strong Santa Ana wind in East County.”
Note repeating patterns without diagnosing them. For example, write that the water seemed to fall while equipment operated. Don’t label a particular underground line as broken unless testing confirms it.
Save recent water records if filling has become frequent. Don’t treat a higher bill as proof by itself. Household use and billing periods can change for other reasons.
Finally, share any access concerns. Mention locked gates, hillside equipment, raised decks, narrow side yards, or covered equipment areas. Those details help the specialist discuss the visit and likely diagnostic approach without promising a result before inspecting the pool.
When to call us
Call when repeated bucket tests show the pool dropping farther than the comparison water, or when the result remains unclear despite steady conditions. Leak detection, buried plumbing diagnosis, and related repairs need the right licensed pool service pro.
Call us at (858) 400-4404 and we’ll connect you with a licensed local pool specialist.
Frequently asked questions
How do you perform a bucket test for a leaking pool?
Place a stable bucket on a pool step, fill it with pool water, and mark the water levels inside and outside. Stop added water and pool use, then compare how far both levels fall under the same weather conditions.
Does a failed bucket test prove where the pool is leaking?
No. A greater drop outside the bucket suggests water loss beyond evaporation, but the test can't locate the source. A leak-detection pro can inspect the pool, equipment, fittings, and plumbing.
Can Santa Ana winds affect a pool bucket test?
Yes. Strong, dry wind can make the water levels harder to compare and may produce an unclear result. Repeat the test during calmer, dry weather before drawing a conclusion.
Should the pool autofill stay on during a bucket test?
No. An autofill can replace escaping water and hide the pool's actual drop. Turn it off for the test, but don't let the water fall below a safe operating level for the equipment.
Need professional help in San Diego County?
Splash Pool SD connects you with a licensed specialist for any service in this post.